


Table of contents
Update 26 Nov 22: With regards to oh-my-posh installation section, please refer to the new blogpost on the current preferred installation method
Introduction
Traditionally, for Windows users, Command Prompt is the default terminal and unlike Linux users, Windows Command Prompt provides pretty basic functionality and features.
PowerShell
PowerShell was first released in 2006 and provides a much more modern terminal experience compared to Command Prompt. However, since it's not the default terminal on Windows, it is usually used by more advanced users.
if you are using PowerShell, do upgrade and use PowerShell v7 instead
Windows Terminal
Microsoft released Windows Terminal in 2019, a multi-tabbed terminal that can run any command-line terminal on it. Microsoft also finally replaced the traditional Command Prompt with Windows Terminal as the default terminal in Windows 11.
If you have not heard of Windows Terminal, now you have, and you should use that as your default terminal.
Usage
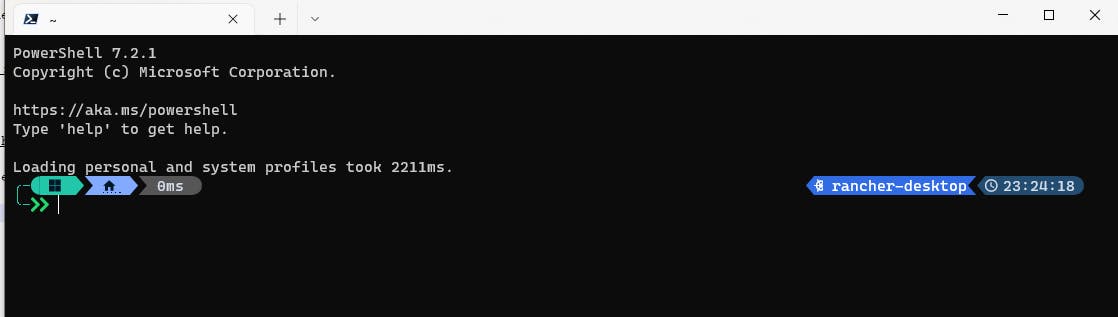
I have been using Windows Terminal as my default terminal on Windows 10 for a long time now, and I am in awe of it because of features such as profiles, themes, multi-tabbed, and so on. However, I feel that the real benefit comes along when you use it together with PowerShell v7 (plus modules) which I will elaborate on later.
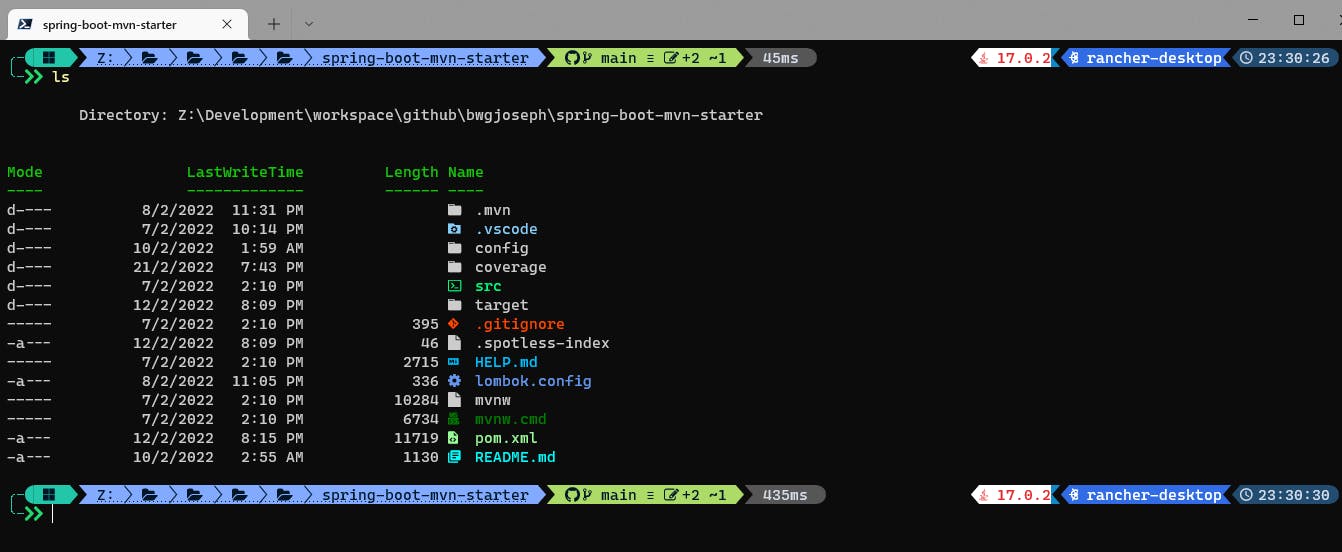
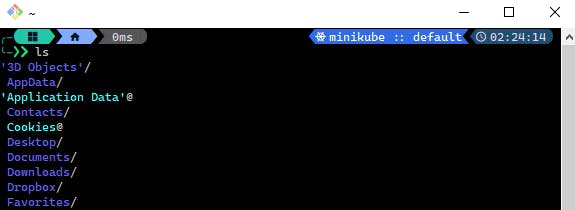
This is how your terminal will look like if you follow the entire guide
These are achieved by using oh-my-posh, terminal-icons, PSReadLine and nerd fonts
You can change the font, themes to your liking at any time
Setup
Without further ado, let's dive into the setup now and soon you will have a awesome looking terminal like mine!
Windows Terminal
Windows Terminal can be installed via Windows Store, Github, or Windows Package Manager (winget). I will be using winget as that is the easiest way to do so
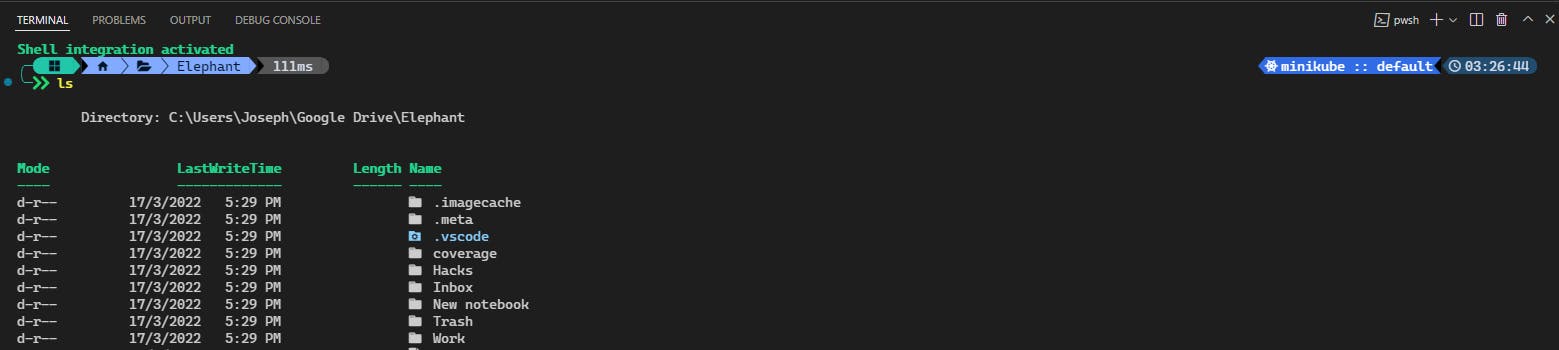
Launch command prompt and run
winget search "windows terminal"
Which will yield the following
C:\Users\Joseph>winget search "windows terminal"

Name                     Id                                Version      Source
--------------------------------------------------------------------------------
Windows Terminal         9N0DX20HK701                      Unknown      msstore
Windows Terminal         Microsoft.WindowsTerminal         1.12.10393.0 winget
Windows Terminal Preview Microsoft.WindowsTerminal.Preview 1.13.10395.0 winget
You can choose to install either the stable or preview version. I have been using preview version without issue. If you do face any issue, you can still install the stable version later as the two version can co-exist
winget install --id Microsoft.WindowsTerminal.Preview
PowerShell v7
Next, let's install PowerShell v7
winget install --id Microsoft.PowerShell
Modules
Now that we have our shell application installed, we need to install and setup some PowerShell modules in order to reach the state that we want
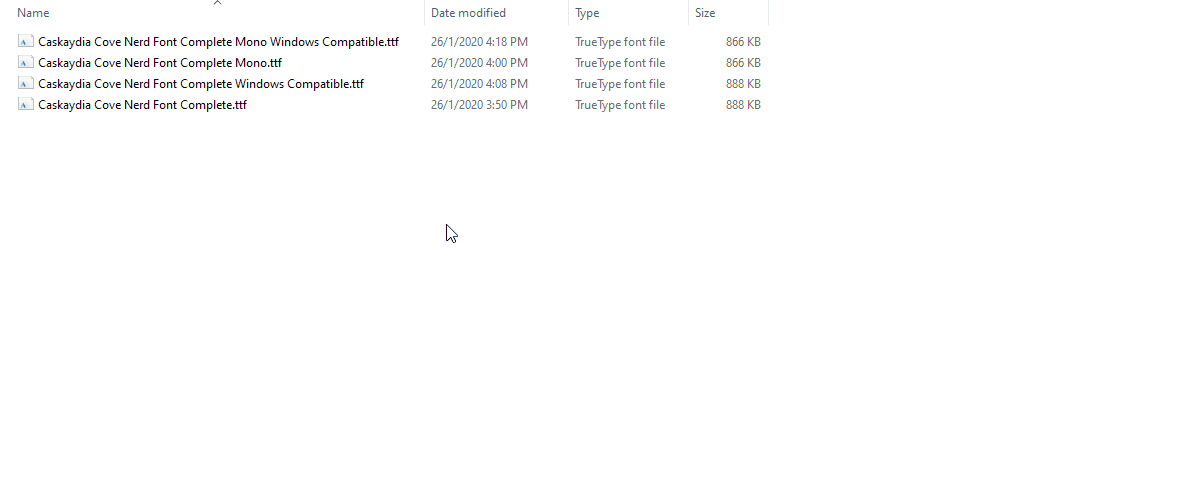
Nerd fonts
nerd font is required to display icons on terminal
Download any nerd font that you fancy. For myself, I am using Cascadia Cove font. Once downloaded, extract the zipped file to any directory and right click to install for all users
oh-my-posh
Launch your newly installed PowerShell v7, and install our first PowerShell module
Install-Module oh-my-posh -Scope CurrentUser
After it has been installed, we need to configure PowerShell profile config file
code $profile
you can replace code with notepad or any editor that you are using
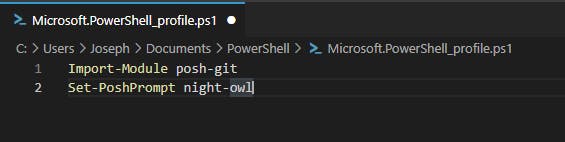
The config file will be opened in VSCode, copy the following to the config file, and save
// tell PowerShell to import this module when the shell launch
Import-Module oh-my-posh
// define the theme for our prompt
// you can view the list of themes in https://ohmyposh.dev/docs/themes or run Get-PoshThemes command
Set-PoshPrompt night-owl
comments are not needed to be copied
Your config file would look like this at this stage
Now, restart your terminal and you should see that the theme has already been applied
Check out troubleshooting-windows-terminal guide below if it doesn't work for you
terminal-icons
Next, install Terminal-Icons module so that we can display cool looking icons in the terminal
Install-Module -Name Terminal-Icons -Scope CurrentUser
After it has been installed, we need to update the config file
code $profile
The config file will be opened in VSCode, copy the following to the config file, and save
Import-Module Terminal-Icons
So now your config would look like
Import-Module oh-my-posh
Import-Module Terminal-Icons
Set-PoshPrompt night-owl

The result so far, not bad right?
PSReadLine
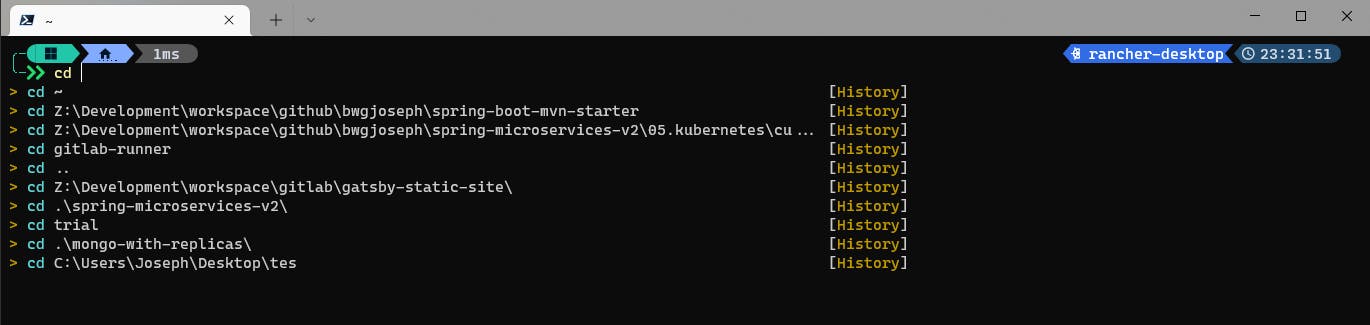
The last module to install is PSReadLine which gives us the ability to display command history in ListView
Install-Module -Name PSReadLine -Scope CurrentUser
After it has been installed, we need to update the config file
code $profile
The config file will be opened in VSCode, copy the following to the config file, and save
Import-Module PSReadLine
Set-PSReadLineOption -PredictionSource History
Set-PSReadLineOption -PredictionViewStyle ListView
Set-PSReadLineOption -EditMode Windows
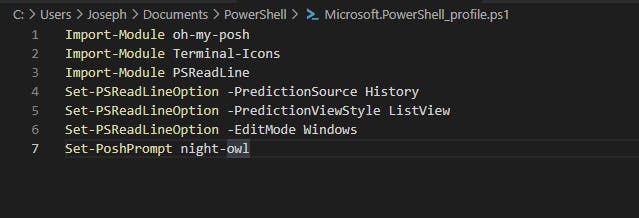
So now your config would look like
Import-Module oh-my-posh
Import-Module Terminal-Icons
Import-Module PSReadLine
Set-PSReadLineOption -PredictionSource History
Set-PSReadLineOption -PredictionViewStyle ListView
Set-PSReadLineOption -EditMode Windows
Set-PoshPrompt night-owl
And the result of it, how cool is that!? It has never cross my mind that I could customize my terminal to this state. There's more modules you can bring in from PowerShell if you want to.
Integration
Now, how good would the experience be if this customization only applies to PowerShell? Well, it is much better than before and I could live with just using PowerShell alone but what if I tell you that we can do better by having the same experience across different shells and IDEs? Don't believe? Continue to read below to see how we can do it.
Shell
Git Shell (Cygwin)
Create .bashrc file in %USERPROFILE% and add the following line
eval "$(oh-my-posh --init --shell bash --config ~/.oh-my-posh/themes/night-owl.omp.json)"
Alternatively, you can run the following command to create the file along with the content for you
$text = 'eval "$(oh-my-posh --init --shell bash --config ~/.oh-my-posh/themes/night-owl.omp.json)"' | Out-File -FilePath $env:USERPROFILE/.bashrc
Your Git Bash should look like this now
Check out troubleshooting-git-bash guide below if it doesn't work for you
WSL
In Windows Terminal, start WSL shell (e.g Ubuntu), and run the following command to install oh-my-posh
sudo wget https://github.com/JanDeDobbeleer/oh-my-posh/releases/latest/download/posh-linux-amd64 -O /usr/local/bin/oh-my-posh
sudo chmod +x /usr/local/bin/oh-my-posh
If you are using bash
# use vim if you like
nano ~/.bashrc
# place this at the end of the file
# switch the username to yours
eval "$(oh-my-posh --init --shell bash --config /mnt/c/Users/Joseph/.oh-my-posh/themes/night-owl.omp.json)"
If you are using zsh
# use vim if you like
nano ~/.zshrc
# place this at the end of the file
# we are referencing to our theme in Windows path
# switch the username to yours
eval "$(oh-my-posh --init --shell zsh --config '/mnt/c/Users/Joseph/.oh-my-posh/themes/night-owl.omp.json')"
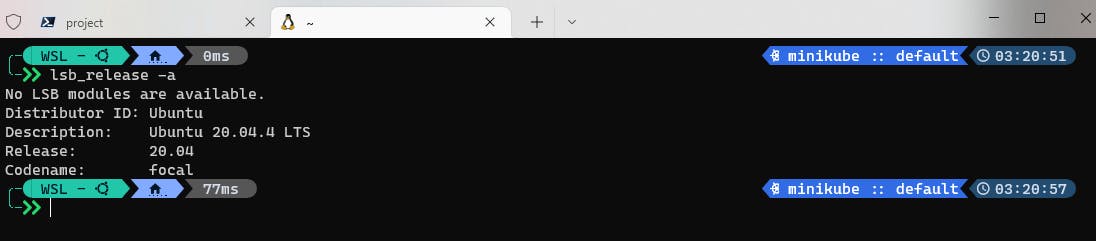
What we are doing above is to configure WSL to reference the same theme that was defined in ours Windows directory. This is to keep the theme consistent especially if you modify your theme, or have a custom one. It is harder to track and sync across multiple places.
Once you have done so, restart your WSL shell and you should see the exact same look shown below
Command Prompt
Yes, it can work even for the old school Command Prompt via Clink but I did not try that out. Let me know if you do and what's your experience with it.
IDE
IntelliJ
If you are using the latest version of IntelliJ, it should work out of the box, but the font will be slightly different. So let's make some adjustment to ensure everything is the same.
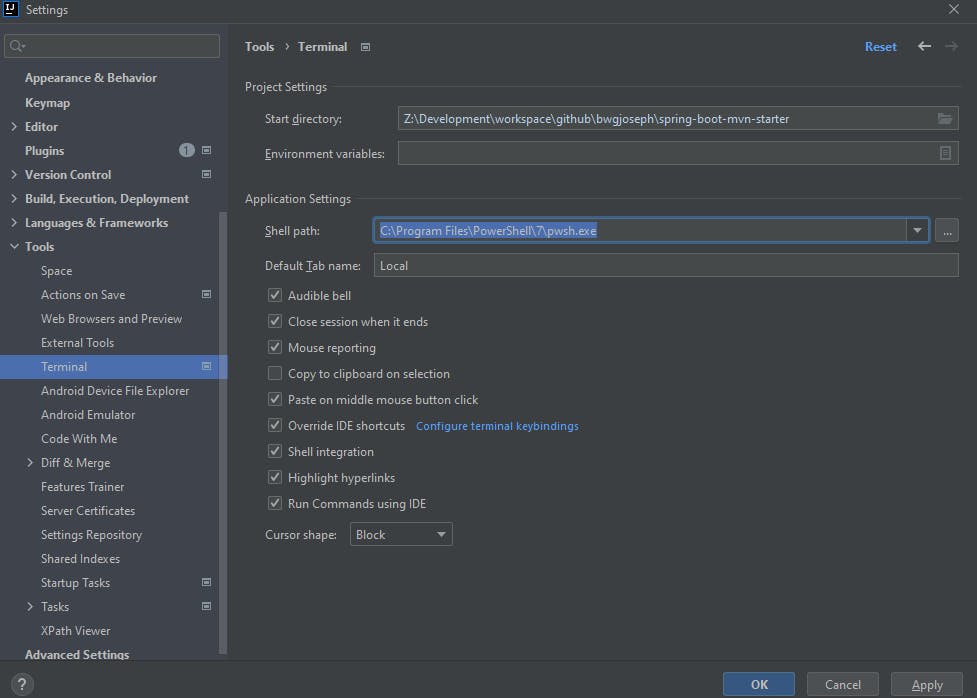
Launch Settings > Tools > Terminal > Application Settings
- Shell path:
C:\Program Files\PowerShell\7\pwsh.exe - Ensure:
Shell Integrationis ticked - Click:
Apply
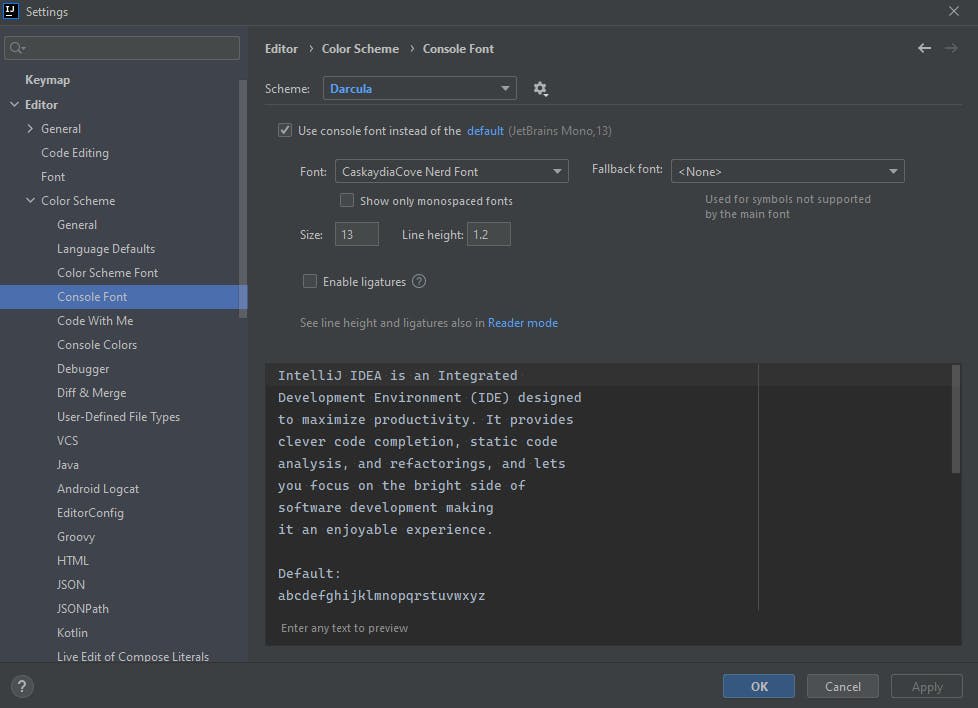
Launch Settings > Editor > Color Scheme > Console Font
- Tick:
Use console font instead of the default - Untick:
Show only monospaced fonts - Font:
CaskaydiaCove Nerd Font - Click:
Apply
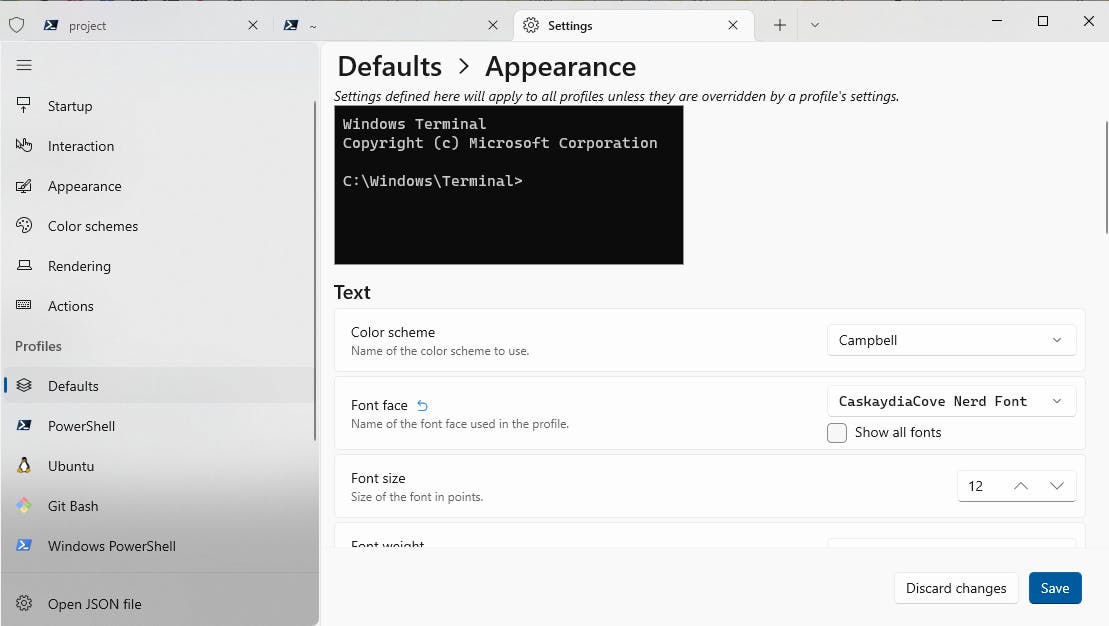
VSCode
For VSCode, it's easier to configure in the JSON configuration, so that's what we are going to do
In VSCode, launch Command Palette (F1) > Preferences: Open Settings (JSON)
Add/Update the following settings
# Some userful config, but not required
"terminal.integrated.copyOnSelection": true,
"terminal.integrated.cursorBlinking": true,
# New feature from VSCode - https://code.visualstudio.com/docs/editor/integrated-terminal
"terminal.integrated.shellIntegration.enabled": true,
# Tell VSCode to use `PowerShell v7` as the default shell when launching
"terminal.integrated.defaultProfile.windows": "PowerShell v7",
"terminal.integrated.fontFamily": "CaskaydiaCove Nerd Font",
"terminal.integrated.profiles.windows": {
    # you would have the following by default except PowerShell v7 which we will add below
    "PowerShell": {
        "source": "PowerShell",
        "icon": "terminal-powershell"
    },
    "Command Prompt": {
        "path": [
            "${env:windir}\\Sysnative\\cmd.exe",
            "${env:windir}\\System32\\cmd.exe"
        ],
        "args": [],
        "icon": "terminal-cmd"
    },
    # not required if Git Bash is not installed
    "Git Bash": {
        "source": "Git Bash"
    },
    # added manually
    "PowerShell v7": {
        "icon": "terminal-powershell",
        "path": "C:\\Program Files\\PowerShell\\7\\pwsh.exe"
    },
}
Restart your Shell after the settings has been updated
Congratulations on completing all the steps, I assure you that your effort and patience will be paid off after using your brand new terminal setup.
Troubleshoot
Font not displaying properly in Windows Terminal
Does your terminal look like the image below?
If so, launch the settings for Windows Terminal
Under Profiles > Defaults > Text > Font face
- Select:
Cascadia Cove Nerd Font - Click:
Save
Restart Terminal, and you should see the terminal font being rendered correctly
Git Bash theme does not work
Check the following:
- Ensure you added
%USERPROFILE%\.oh-my-poshtoPATHenvironment variable - Create
.bashrc_profilein%USERPROFILE%with the following content
if [[ -f ~/.bashrc ]] ; then
    . ~/.bashrc
fi
Conclusion
Having a great terminal experience will enhance your overall developer experience and improve your productivity! Especially with the multi-tabbed features from Windows Terminal, and PSReadLine module from PowerShell.
Shoutout
Shoutout to Scott Hanselman for writing How to make a pretty prompt in Windows Terminal and My Top Tips for using Windows Terminal like a Pro video that introduce me to the world of terminal awesomeness in Windows